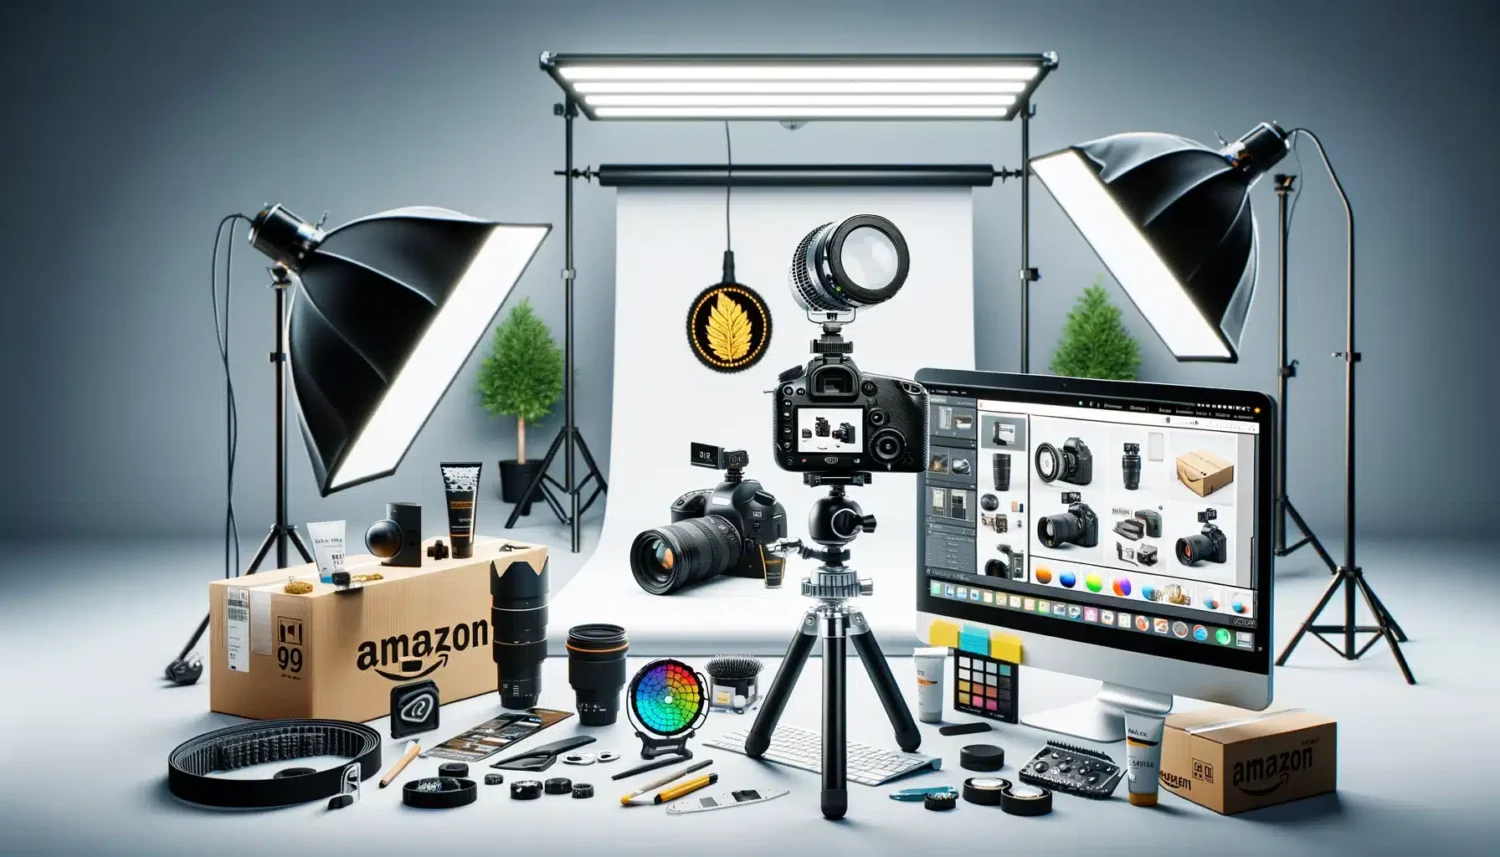
If you’re selling on Amazon or planning to, you’ll know that high-quality product photos are essential for catching a buyer’s eye. Great photos can mean the difference between a sale and a scroll-by. I’ve spent countless hours researching and experimenting to find the best tools for DIY product photography, and I’m excited to share my findings with you.
Table of Contents
Why Good Photography Matters
Before discussing the tools, let’s chat about why good photography is crucial. Amazon is a highly competitive marketplace. The first thing customers notice about your listing is the image. It’s your first impression, your calling card. High-quality images can:
- Increase click-through rates
- Build trust with potential buyers
- Highlight the features and benefits of your product
In short, good photos can boost your sales and help you stand out in a crowded market.
Good photography is crucial for standing out in the crowded Amazon marketplace, and tools like ProductScope can help you analyze and optimize your listings for maximum impact.
The Camera
Choosing the Right Camera
You might think you need a fancy, expensive camera to get started, but that’s not necessarily the case. Modern smartphones, like the iPhone 14 or Samsung Galaxy S22, come with powerful cameras that can produce stunning images. However, if you’re aiming for the next level, a DSLR or mirrorless camera could be a game-changer.
DSLR vs. Mirrorless Cameras
- DSLR Cameras: Known for their durability and battery life, they offer a wide range of lenses. Models like the Canon EOS Rebel T8i or Nikon D5600 are great for beginners.
- Mirrorless Cameras: These are generally more compact and lighter. They provide real-time previews of your shot. Check out the Sony Alpha a6400 or Fujifilm X-T30 for excellent options.
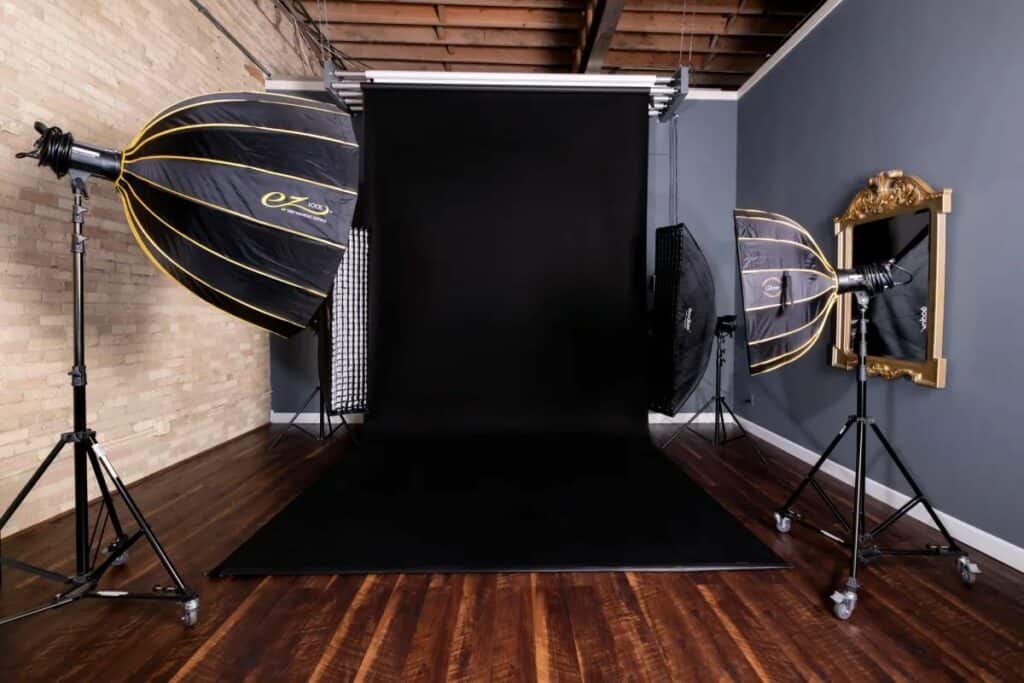
Lighting
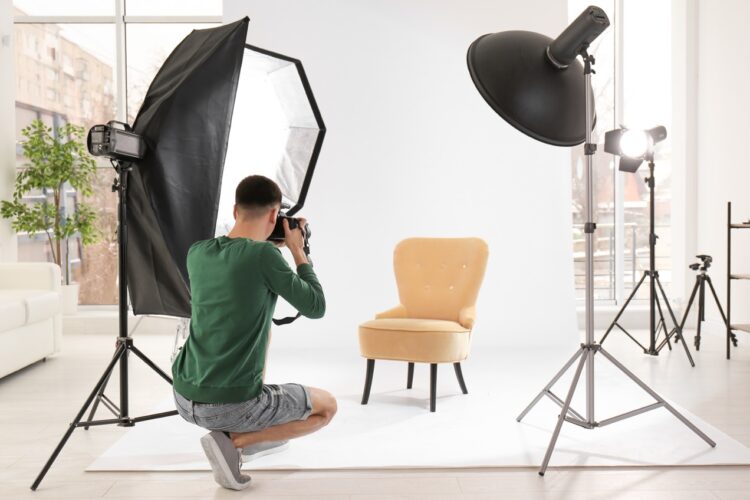
Proper lighting can transform your photos from amateur to professional. Natural light is wonderful, but it’s not always reliable. Here are some lighting tools you might consider:
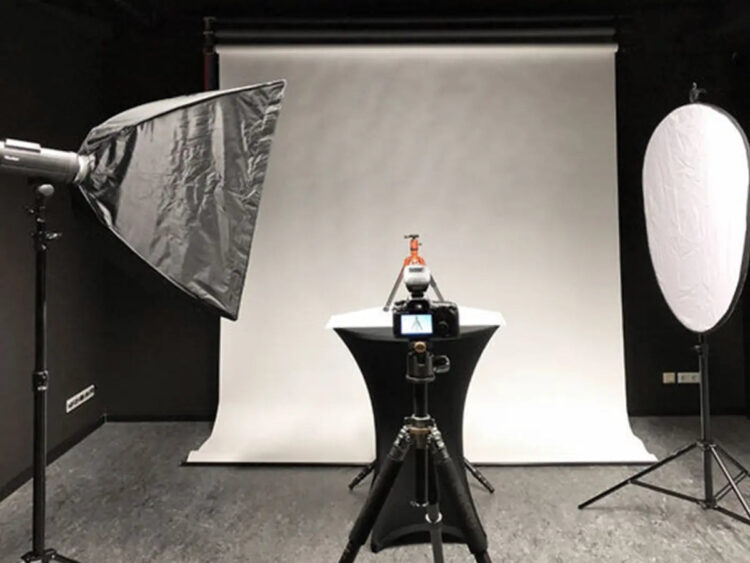
Softboxes
Softboxes diffuse light, creating a soft, even glow that eliminates harsh shadows. They’re perfect for product photography. Look for kits that include adjustable stands and multiple softboxes, like the Neewer Softbox Lighting Kit.
Ring Lights
Ring lights are popular among photographers for their simplicity and effectiveness. They provide uniform light and are especially good for smaller products. The Neewer Ring Light Kit is a solid choice.
Light Tents
A light tent is a mini studio that helps to control shadows and reflections. It’s ideal for shooting small to medium-sized products. The FOSITAN Photo Box is a favorite due to its adjustable brightness and portability.
Backgrounds and Surfaces
Your product should be the star of the show, but a well-chosen background can enhance its appeal. Here are some options:
White Backgrounds
A pure white background is a staple for Amazon product photos. It looks clean and professional, ensuring your product stands out. You can use a roll of white paper, like the Savage Seamless Paper, or a white acrylic board.
Textured Backgrounds
For lifestyle shots or to add a bit of character, textured backgrounds can be very effective. Wooden surfaces, marble tiles, or fabric backdrops can add a touch of elegance. Just make sure they don’t distract from your product.
Tripods
Blurry photos are a big no-no. A tripod ensures your camera stays steady, allowing for crisp, clear images.
Choosing a Tripod
- Smartphone Tripods: Compact and easy to use. The Joby GorillaPod is flexible and can be mounted almost anywhere.
- Camera Tripods: Look for stability and height adjustability. The Manfrotto Compact Action Tripod is a versatile option that works well with both DSLRs and mirrorless cameras.
Editing Software

Even the best photos can benefit from a bit of editing. Post-processing can enhance colors, correct exposure, and remove blemishes.
Free Editing Software
- GIMP: An open-source alternative to Photoshop. It’s powerful, though the learning curve can be steep.
- Canva: Great for quick edits and adding text or graphics. User-friendly and perfect for beginners.
Paid Editing Software
- Adobe Photoshop: The industry standard. Offers endless possibilities for photo editing.
- Lightroom: Excellent for batch processing and organizing your photos. It’s more intuitive than Photoshop and perfect for adjusting lighting and color.
Practical Tips for Better Photos
Focus on Details
Capture your product from multiple angles. Highlight key features and details that set it apart. Close-up shots can show texture and quality.
Keep it Clean
Ensure your products are spotless before photographing them. Dust, fingerprints, or smudges can be distracting and unprofessional.
Experiment with Angles
Don’t be afraid to try different angles. Sometimes, the most unexpected shot can turn out to be the best. Shoot from above, at eye level, or even from below to find the most flattering perspective.
Use Props Sparingly
Props can enhance your photos by providing context. For example, if you’re selling a coffee mug, a few coffee beans and a book can set the scene. Just ensure the props don’t overshadow the product.
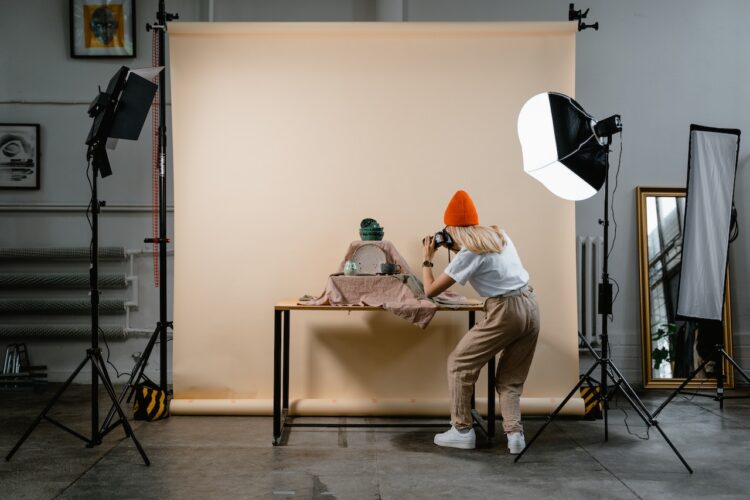
Building Your Own Photography Studio
You don’t need a huge space or a massive budget to set up a functional photography studio. Here’s a simple setup:
Find a Space
Choose a spot with ample natural light. If that’s not possible, make sure you have enough artificial lighting.
Invest in Basic Equipment
Start with the essentials: a camera (or smartphone), tripod, lighting, and a few background options. As you grow, you can add more specialized tools.
Organize Your Props and Backgrounds
Keep your props and backgrounds organized and easily accessible. This will save you time and keep your workspace tidy.
Budget-Friendly Options
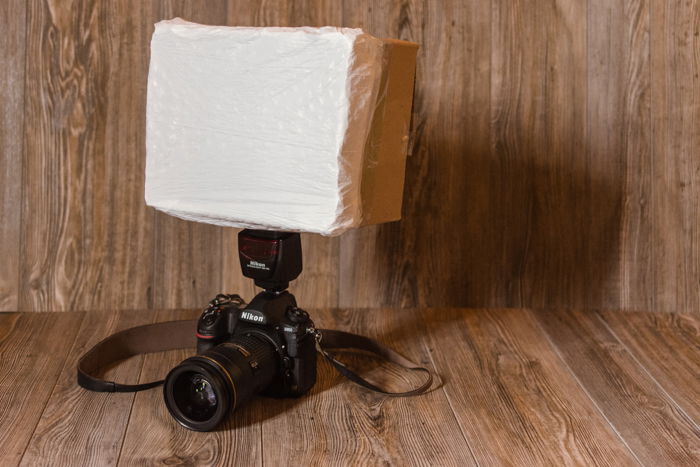
Photography gear can get pricey, but you don’t need to break the bank to get started. Here are some budget-friendly alternatives:
Affordable Lighting
- Clamp Lights: Inexpensive and versatile. Pair them with daylight bulbs for a cost-effective solution.
- DIY Softboxes: You can make your own softboxes using cardboard, aluminum foil, and white fabric.
Background Hacks
- Poster Boards: Available at any craft store. They come in various colors and textures.
- DIY Backgrounds: Use household items like blankets, sheets, or even wallpaper samples for unique backgrounds.
Final Words
DIY Amazon product photography is both an art and a science. With the right tools and a bit of practice, you can create stunning images that showcase your products in the best possible light. Remember, the goal is to make your products look irresistible to potential buyers. So, invest in quality tools, experiment with different techniques, and most importantly, have fun with the process!
If you have any questions or need further tips, feel free to reach out. Happy photographing and best of luck with your Amazon sales!